Threads 39: Making a tray
This is one of the most useful ways of making something for your house. It is also a good present for people or an Item for a craft sale. Back in the 80s I met a basket maker from Winnipeg who worked on the railways and regularly gathered willow from the sides of the tracks.
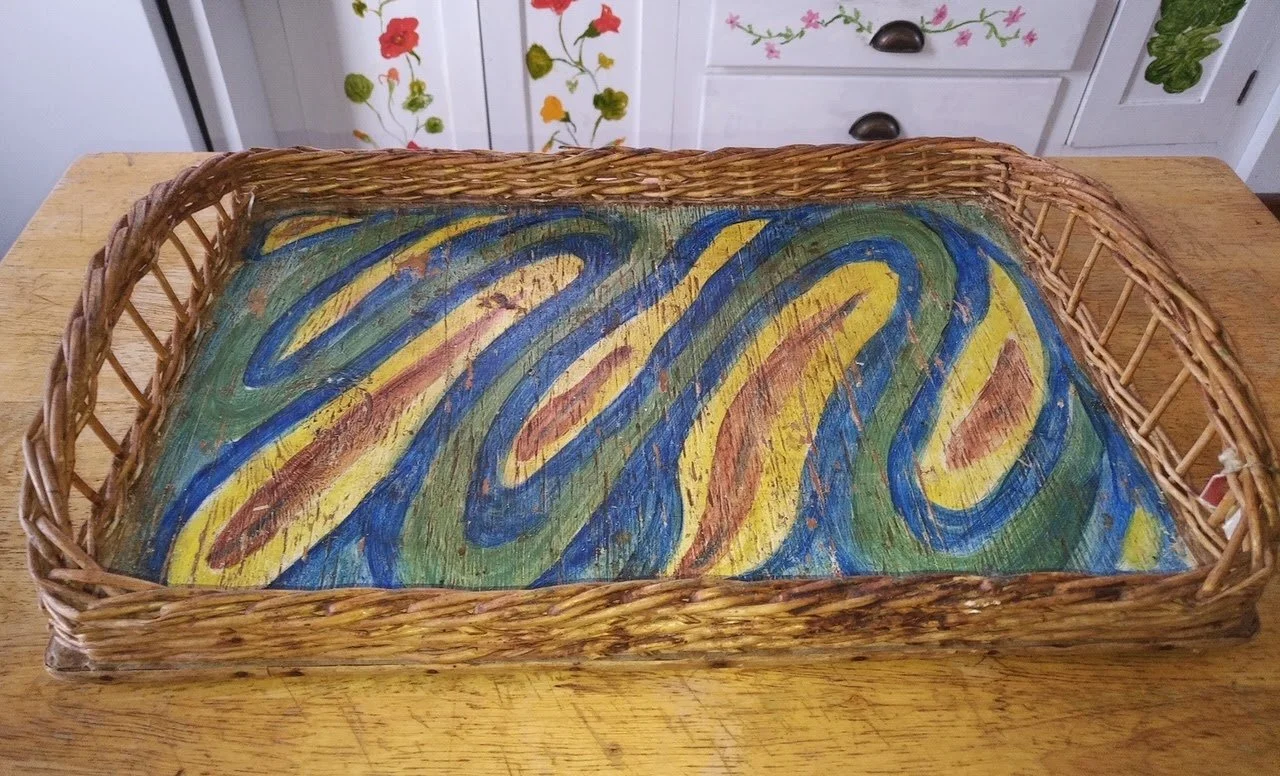
He visited me in Oakville and gave me a tray with a white willow border. Now, some 50 years later I still use his tray (see photo).
The tray originally had a plastic covered placemat on the tray base showing the Provincial Parliament buildings. When it cracked I removed it and did a painted design. He used white willow, with a track border on the batt and a similar border on the top.
I had another interesting experience while teaching. I was invited to go to the women's minimum security prison near Toronto. On my first trip I shut off all the alarms by dragging in my long pieces of round reed and leaving both doors open.They loved the idea of making trays and the first job was to decorate the tray bases using magazine pictures for decoupage. Imagine my surprise to find they covered the bases with pictures of liquor bottles or motorcycles!
To make the tray
Materials
3/8" plywood
3 or 4 ft. willow OR
#4 round reed for stakes,
# 3 round reed for weavers
Prepare the base
For the base; cut a base 18" x 24", or whatever you prefer*
Using a pencil , make a mark for each hole, half an inch from the edge, and 3/4"
apart. Count the number of holes, and then cut the correct number of stakes. *
To make the holes, choose the correct drill bit size to match the diameter of the stakes, and drill the holes.
Decorate the Base
This is the artistic part: you can choose mactec or shelf paper or as I mentioned before, decoupage. The photo to the right shows a tray with decoupage made from pictures of flowers. Always finish with an acrylic finish for future cleaning.
To make the tray
Willow: Select willows with the same size base to fit the holes. You will need at least 3 inches for the base border, 3" for weaving and approximately 12" for the top border.
Round reed: Cut stakes at least 18". Add more for a braided border.
Soak the material, insert the stakes and do a foot border, behind one in front of one behind one.
Weave the sides, I prefer using pairing.
Tray Handle
Handle space method (See photos):
I like this method for making the tray handles on a willow tray. For round reed borders I usually leave the handles in the centre of the short sides about four or 5 inches wide, and it is quite fun to put coloured wooden or plastic beads to fill the space.
The top border
The method of choice depends on your expertise. The most attractive border is the plated border, three over two.
Since the top border is the part that shows the most, it is important to do it well and finish off the ends neatly.
See photo below of a tray with a painted wooden base and made with willow.


